Add your company logo to your print reports
If you send your loading documents to other business partners, then you’ll find the new functionality we’ve added to the software useful. You can now add your company logo to your reports and make your documents become company materials.
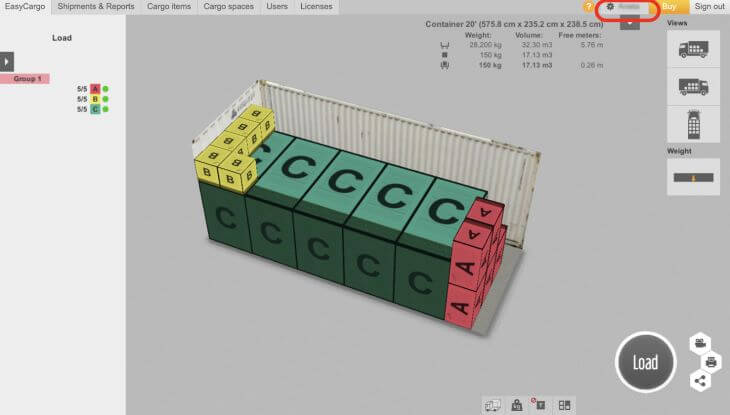
To insert your logo, you need to edit your company profile. You can get there via the profile tab located in the top right corner.

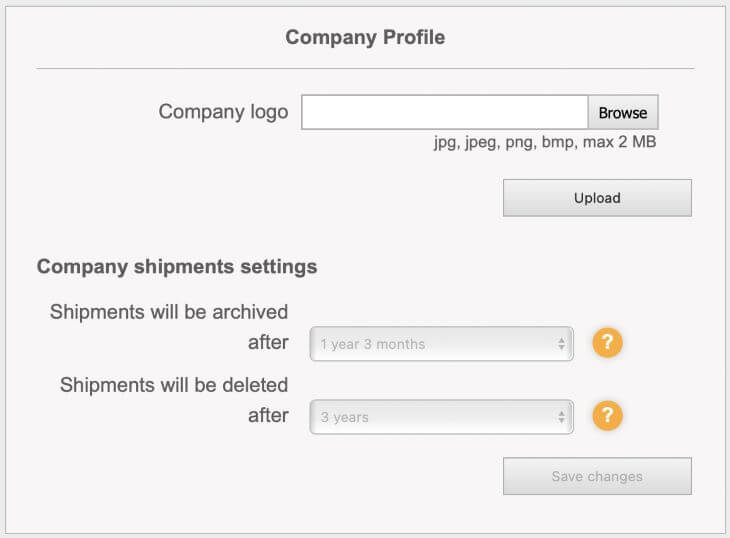
Within your profile, you will see the User Profile section and below that, the Company Profile. The first field in the Company Profile that we are interested in is the Company Logo. To upload a logo, click Browse and select the file you want to upload. The file must be in jpg, jpeg, png, or bmp format and the maximum size allowed is 2 MB.

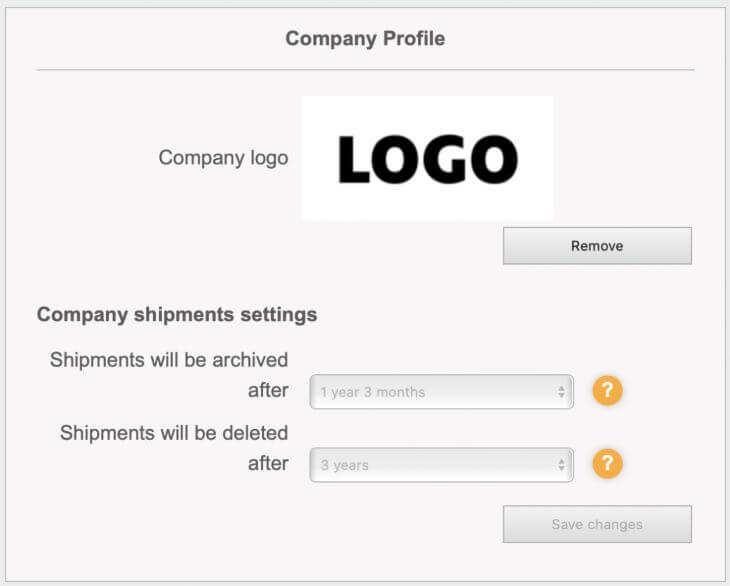
After selecting the file, click Upload to preview the resulting uploaded file.

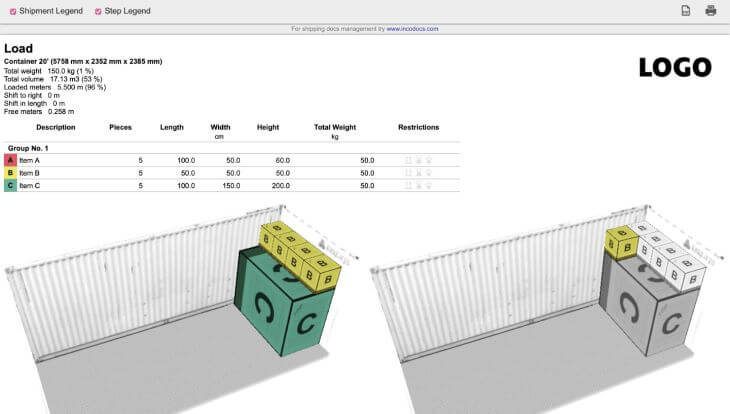
To verify that all of your reports will include the company logo, go back to the loading scheduling tab and select the Print report button in the bottom right corner. Click on Basic Views. In a new window, you will see a preview of the resulting report along with your company logo.

From now on, all of your reports, including the step-by-step report, will include your company logo. If you want to create a report that does not include the logo, just go to the profile tab again and select the Remove logo option in the Company Profile.
Just have one user upload the logo to the profile and it will automatically appear to all users throughout the organization. Deleting or changing it works the same way. If one user changes or deletes the logo, this change will automatically be overwritten for all users.


